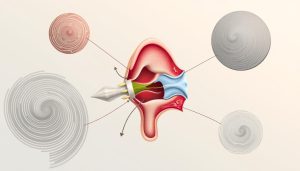
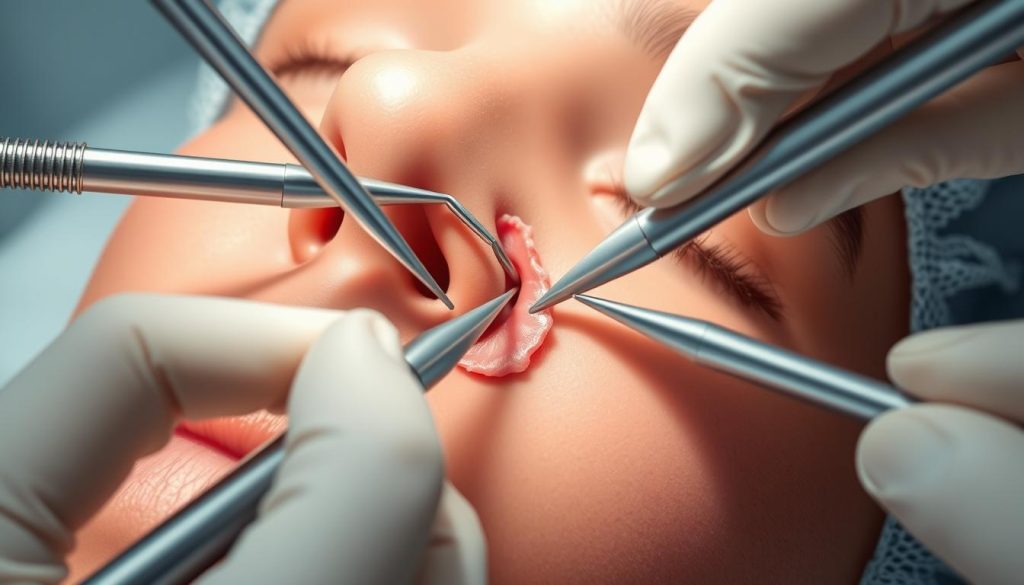
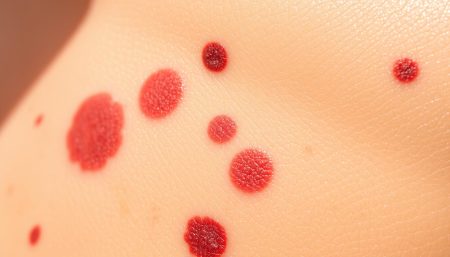
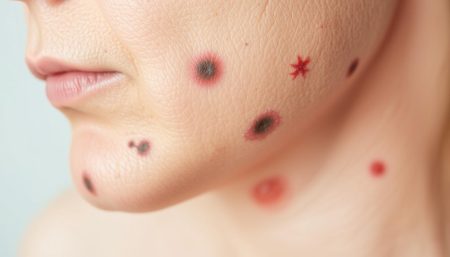
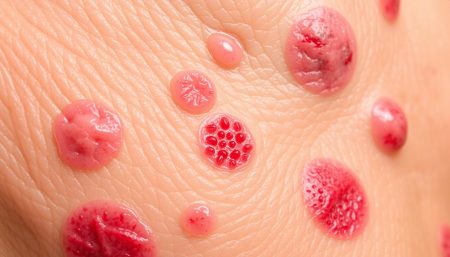
Mohs surgery pictures show a detailed journey through a special skin cancer treatment. They capture the whole process, from the beginning to the end. These images highlight the precision and success of this method.
Dermatologists use these photos to help patients, plan treatments, and track results. They are a key part of patient care.
These pictures are very important for patient care. They help people know what to expect and let doctors see how well the patient is healing. From the first visit to follow-ups later, these images tell each patient’s story.
Looking at Mohs surgery before and after results, we see how these images help both doctors and patients. They show the big change this procedure makes in treating skin cancer.
Understanding Mohs Surgery: A Visual Guide
Mohs surgery is a new way to treat skin cancer. It removes cancerous tissue bit by bit. This ensures all cancer is gone while keeping healthy skin. Let’s look at this innovative procedure through pictures.
The Development of Mohs Surgical Technique
Dr. Frederic Mohs started this method in the 1930s. He first used a chemical paste, but now we use fresh tissue. This change made the surgery faster and better for patients.
Key Components of the Procedure
Mohs surgery has several important steps:
- Removing the visible tumor
- Mapping and color-coding the tissue
- Checking all margins under a microscope
- Removing more tissue if needed
- Fixing the surgical area
Why Photography Matters in Documentation
Photography is key in Mohs surgery. Skin cancer surgery images help a lot. They help doctors plan, talk to patients, and see how healing is going.
| Stage | Purpose of Photography |
|---|---|
| Pre-surgery | Document tumor size and location |
| During surgery | Guide tissue mapping and removal |
| Post-surgery | Monitor healing and detect recurrence |
With skin cancer surgery images and Mohs micrographic surgery photos, doctors can give better care. This visual method makes Mohs surgery a top choice for treating skin cancer.
Mohs Surgery Pictures: Documentation and Patient Education
Mohs surgery pictures are key for documenting and educating patients. They help surgeons track progress and explain the treatment to patients.
Before surgery, photos show the skin cancer’s initial state. This helps doctors plan their approach. During surgery, images capture each stage, ensuring all cancerous cells are removed. After surgery, pictures show the immediate results and help monitor healing.
These pictures help patients understand their treatment journey. They show what to expect, any reconstruction needs, and healing timelines. By seeing before-and-after images, patients get a clear idea of their recovery.
| Image Type | Purpose | Benefit |
|---|---|---|
| Pre-operative | Document initial condition | Surgical planning |
| Intra-operative | Record surgical stages | Ensure complete removal |
| Post-operative | Show immediate results | Track healing progress |
| Follow-up | Document long-term outcomes | Evaluate final results |
Surgeons use these images during consultations to get informed consent. By showing similar cases, they help patients see what to expect. This visual approach improves patient understanding and satisfaction with Mohs surgery.
Common Locations for Mohs Surgery: Face and Neck
Mohs surgery often targets the face and neck because they get a lot of sun damage. These areas need careful treatment to keep them working and looking good. Facial mohs surgery photos show how detailed these procedures are.
Nasal Procedures and Results
The nose is a common place for skin cancer removal. Mohs surgical defect images show how surgeons work around the nose’s complex shape. They use special techniques to fix the nose and keep breathing and looks right.
Cheek and Temple Cases
Cheek and temple surgeries are tricky. These spots have thin skin and are near important nerves. Doctors have to remove cancer carefully to keep the face moving and feeling right. Before and after photos show the skill needed in these precise surgeries.
Forehead and Scalp Treatments
Forehead and scalp treatments face bigger skin cancer challenges. Hair areas need special care for natural results. Mohs surgical defect images of these spots show the need for detailed planning and doing.
| Location | Unique Challenges | Reconstruction Technique |
|---|---|---|
| Nose | Complex structure, maintaining airflow | Flap reconstruction, cartilage grafts |
| Cheek/Temple | Thin skin, nearby nerves | Advanced flap techniques, tissue expansion |
| Forehead/Scalp | Large defects, hair-bearing skin | Tissue expansion, rotation flaps |
Facial mohs surgery photos give us a peek into these complex surgeries. They show the talent needed to get the best results in these sensitive areas.
Skin Cancer Types Treated with Mohs Surgery
Mohs surgery is a top choice for treating many skin cancers. It’s great for cancers in sensitive spots like the face. Pictures of skin cancer surgery and Mohs micrographic surgery help doctors plan treatments.
Basal cell carcinoma (BCC) is the most common type treated with Mohs surgery. It looks like a pearly bump or a pinkish patch. Squamous cell carcinoma (SCC) is also common, showing up as a scaly red patch or a wart-like growth.
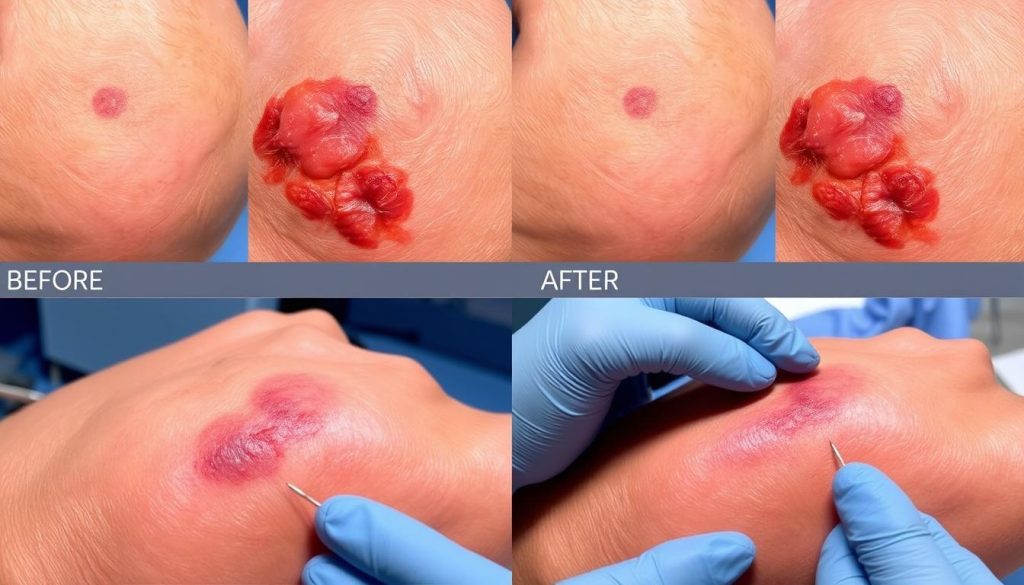
Certain melanomas, in early stages, might also get Mohs surgery. These cancers look like dark, irregular moles. Mohs surgery works well for these cancers, with success rates over 95% for BCC and SCC.
| Cancer Type | Visual Characteristics | Mohs Surgery Success Rate |
|---|---|---|
| Basal Cell Carcinoma | Pearly bump, pinkish patch | 99% |
| Squamous Cell Carcinoma | Scaly red patch, wart-like growth | 97% |
| Early Melanoma | Dark, irregular mole | 95% |
Images from skin cancer surgery are key for tracking healing. They help doctors see how well the treatment is working. This ensures the best results for patients.
Pre-Operative Marking and Planning: Visual Examples
Mohs surgery pictures show the detailed planning for each procedure. Before starting, dermatology surgery visuals are key in mapping the surgical area. This careful step ensures precision and boosts the chance of removing the tumor completely.
Surgical Site Preparation
The area is cleaned and prepared for a sterile field. Surgeons mark the tumor’s visible edges with special markers. These marks guide the removal and keep the surgeon oriented during the surgery.
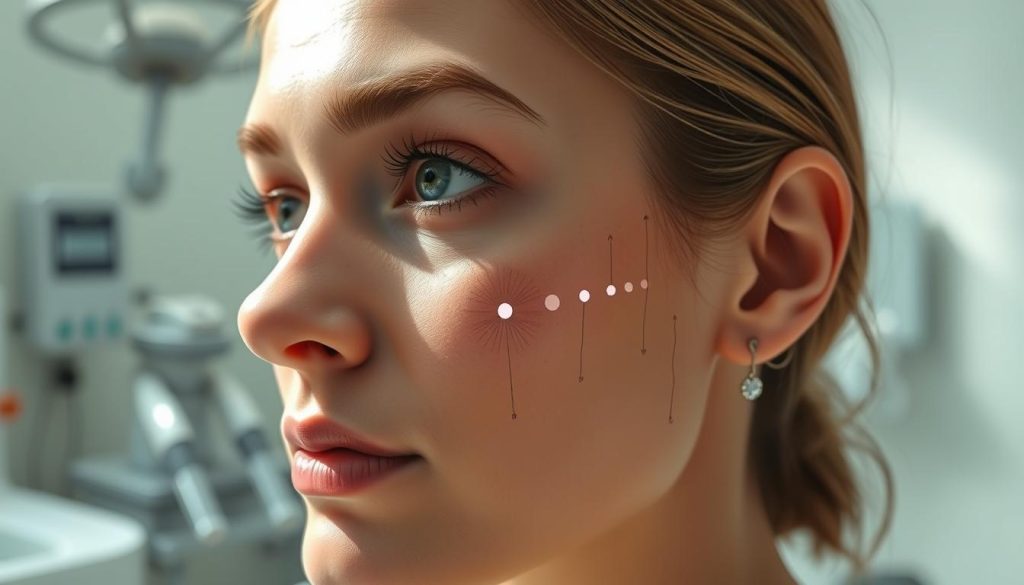
Margin Mapping Techniques
Surgeons use different methods to map the tumor’s edges accurately. They might use dermatoscopy or a Wood’s lamp to see hidden tumor spread. The margins are then marked on the skin, creating a guide for the surgery.
| Mapping Technique | Description | Benefit |
|---|---|---|
| Dermatoscopy | Magnified skin examination | Reveals subtle tumor borders |
| Wood’s Lamp | UV light examination | Highlights areas of skin fluorescence |
| Rulers and Calipers | Precise measurement tools | Ensures accurate margin delineation |
These steps, shown in mohs surgery pictures, are key to successful tumor removal and good results. The visual records help guide the procedure and educate the patient.
The Surgical Process Through Images
Mohs micrographic surgery photos give us a close look at this precise skin cancer removal. The first step is marking the tumor and the area around it. Then, a surgeon takes off the cancerous tissue layer by layer, checking each under a microscope.
Photos show how surgeons map out the removed tissue. They make detailed diagrams to find where cancer cells are left. This helps them remove more tissue only where it’s needed, keeping healthy skin intact.
Images show the Mohs surgery step by step:
- Initial tumor excision
- Tissue preparation for microscopic examination
- Margin analysis
- Further tissue removal if necessary
- Wound closure
These images show how Mohs surgery has high cure rates and less scarring. They show the precision of each cut and the detailed check of tissue samples. Seeing the process helps patients understand this life-saving surgery better.
Immediate Post-Surgery Appearance
After Mohs surgery, many wonder about their look right after. Knowing what to expect can make things easier and help manage hopes and fears.
Typical Wound Characteristics
Mohs surgery pictures show different wound looks. This depends on where and how much was done. Wounds might look red, swollen, and a bit bruised. They can also be bigger than expected because of the cancer removal and extra safety area.
Initial Dressing Applications
Right after surgery, the wound gets special dressings. These help it heal and stay safe. The dressings include:
- Antibiotic ointment to stop infection
- Non-sticky gauze to keep it moist
- Pressure bandages to reduce bleeding and swelling
Expected Swelling Patterns
Swelling is a normal part of healing after Mohs surgery. How much swelling depends on the area and person. Swelling is more noticeable around the eyes or nose.
| Surgical Site | Peak Swelling | Resolution Time |
|---|---|---|
| Forehead | 24-48 hours | 3-5 days |
| Nose | 48-72 hours | 5-7 days |
| Cheek | 24-48 hours | 4-6 days |
Mohs surgery before and after photos show big improvements. Even though the first pictures might worry you, things get much better in a few weeks.
Healing Progression Timeline Visuals
Mohs surgery pictures show the amazing healing of skin after cancer removal. They give patients a clear view of what to expect after surgery. It’s a journey of the body’s incredible repair work.
In the first 24 hours, you might see redness and swelling. By week one, pictures show less inflammation and scabs starting to form. Two weeks later, new skin growth is visible, showing big healing progress.
By the one-month mark, Mohs surgery pictures show big improvements. Scars start to fade, and the area blends with the skin around it. Healing times can differ based on:
- Location of the surgery
- Patient’s age
- Overall health condition
- Proper wound care
These timelines not only track recovery but also help doctors spot issues early. Seeing normal healing steps reassures patients during their recovery.
Reconstruction Techniques and Results
After Mohs surgery, skilled reconstruction is key for healing and looks. We’ll look at the main repair methods, with mohs repair pictures and mohs reconstruction images.
Flap Procedures
Flap procedures move healthy skin to cover the wound. This is used for big defects or tight skin. Mohs reconstruction images show how flaps blend well, keeping natural looks.
Skin Grafts
Skin grafts are used when there’s not enough local tissue. They take skin from another part of the body and move it to the wound. Mohs repair pictures show how grafts blend in, matching skin color and texture.
Direct Closure Methods
For small wounds, direct closure is the easiest way. The edges are sewn together. This works well where skin is flexible, leaving little scarring, as seen in mohs reconstruction images.
Each method has its use, based on the wound size, location, and patient. Skilled surgeons pick the best method for both looks and function, shown in before-and-after mohs repair pictures.
One-Week Post-Surgery Photographs
One week after Mohs surgery, patients notice big changes in their face. Photos from this time show key healing points. Swelling goes down, and bruises start to fade.
At this stage, stitches or staples might be seen. The wound looks like it’s healing, with some redness. It might look a bit raised or have a scab.
It’s important to take good care of the wound during this time. Patients can start with light activities but should stay away from hard work. Following the doctor’s instructions helps the wound heal right and avoids problems.
| Typical One-Week Appearance | Recommended Care |
|---|---|
| Reduced swelling | Keep wound clean and dry |
| Fading bruises | Apply prescribed ointments |
| Visible sutures/staples | Avoid sun exposure |
| Redness around edges | Use gentle cleansers |
Regular check-ups are key to seeing how the wound is healing. These visits let doctors check the wound, remove stitches if needed, and talk about any worries. Photos from before and after Mohs surgery at this time are very helpful for everyone involved.
One-Month Recovery Documentation
One month after Mohs surgery, patients start to see big changes. Pictures from this time show how the surgical site looks. These images help us understand how well the body is healing.
Scar Formation Progress
By the one-month mark, the redness and swelling usually go away. Pictures show new skin forming. The scar might look pink or raised, showing it’s healing.
Patients often see their scars getting less noticeable. This is because the body is fixing the area.
Tissue Remodeling Evidence
Images from this time show early signs of tissue remodeling. The body is busy healing and making the area stronger. Patients might notice changes in skin texture and color as collagen forms.
Healing times can vary. This depends on age, skin type, and where the surgery was done. Some heal faster, others take longer. Keeping up with wound care and following instructions is key for the best results.
Six-Month Follow-Up Results
Six months after Mohs surgery, patients see big changes. The scars are starting to look better. Photos show how much the appearance has changed.
Scar remodeling keeps going. The area looks smoother and less obvious. Sun protection is key to keeping the scars looking good.
Seeing the six-month results boosts many people’s mood. It helps them feel better about their appearance. The photos show how well the surgeon preserved their face.
| Aspect | 1 Month Post-Surgery | 6 Months Post-Surgery |
|---|---|---|
| Scar Appearance | Red, raised | Flatter, less noticeable |
| Skin Color | Mismatch with surrounding skin | Better blending |
| Texture | Uneven, bumpy | Smoother |
| Patient Satisfaction | Moderate | High |
By six months, scars look much better. But, full healing can take a year or more. Regular check-ups with the surgeon help keep the scars looking their best.
Long-Term Outcome Photography
Mohs surgery pictures show the amazing healing and lasting results of this skin cancer treatment. Facial mohs surgery photos show how scars fade and blend with the skin. Often, scars become almost invisible after a year or more.
One-Year Comparisons
By the one-year mark, patients see big improvements in their surgical sites. Mohs surgery pictures show how well this method removes skin cancers while keeping healthy tissue. This is clear when comparing before and after pictures.
| Time Frame | Visible Changes | Patient Experience |
|---|---|---|
| Pre-surgery | Visible skin cancer lesion | Concern about appearance and health |
| Immediately post-surgery | Surgical wound, sutures visible | Relief, some anxiety about healing |
| 6 months post-surgery | Scar fading, redness diminishing | Increased confidence, positive outlook |
| 1 year post-surgery | Minimal scarring, natural skin tone | High satisfaction, restored self-esteem |
Final Aesthetic Results
Long-term facial mohs surgery photos often show results that go beyond what patients expect. The final look depends on the patient’s age, skin type, and where the surgery was done. Many patients see their scars getting better even after a year.
Patient satisfaction with Mohs surgery results is very high. Many people feel confident and forget about their skin cancer worries. The success of Mohs surgery in treating and improving appearance is clear in the many before-and-after photos available.
Special Considerations for High-Risk Areas
Mohs surgery on sensitive areas needs extra care. The eyelids, lips, ears, and hands are special challenges. Surgeons aim to remove all cancer while keeping function intact. Mohs surgery offers high cure rates and saves healthy tissue, making it perfect for these areas.
Before surgery, careful planning is key. Surgeons map out the tumor to lose as little tissue as possible. Mohs surgical defect images show the cancer and healthy skin around it.
Special techniques are used for the best results. Eyelid surgeries aim to keep function and look right. Lip procedures keep natural shape and movement. Ear surgeries help keep hearing and look good.
After surgery, care is very detailed for these areas. Mohs repair pictures show amazing healing. Patients get clear instructions to help healing and reduce scars.
- Eyelids: Focus on retaining vision and blinking function
- Lips: Preserve speaking and eating abilities
- Ears: Maintain hearing and natural shape
- Hands: Ensure continued dexterity and range of motion
Success in tough cases proves Mohs surgery’s worth in high-risk areas. Its precision lets surgeons remove cancer well while keeping function and looks great.
Comparing Different Surgical Approaches Through Images
Skin cancer removal procedure pictures give us a close look at different treatments. Mohs micrographic surgery photos are unique when compared to traditional excision or cryosurgery images. These images show how Mohs surgery is precise and saves more tissue.
Photos side by side show Mohs surgery often leads to smaller scars and better looks, even on the face. Unlike other methods, Mohs surgery usually keeps more healthy tissue around the cancer.
These images help both patients and doctors make better choices. Mohs micrographic surgery photos show why it’s often the best choice for skin cancers in visible spots. They highlight Mohs surgery’s ability to remove cancer effectively while considering looks.
FAQ
Q: What is Mohs surgery?
A: Mohs surgery is a precise way to remove skin cancer. It removes thin layers of skin and checks them under a microscope. This method has a high cure rate and keeps healthy tissue intact.
Q: Why are before and after pictures important in Mohs surgery?
A: Before and after pictures are key for several reasons. They help educate patients, plan surgeries, and document results. They also manage patient expectations and track healing.
Q: What types of skin cancer can be treated with Mohs surgery?
A: Mohs surgery treats basal cell and squamous cell carcinoma, the most common skin cancers. It’s also used for some melanomas. It’s great for cancers in sensitive areas or with unclear borders.
Q: How long does it take to see final results after Mohs surgery?
A: Healing starts within weeks, but results take up to a year. By six months, scars start to look better. But, it takes longer for scars to fully settle.
Q: What does the immediate post-surgery appearance typically look like?
A: Right after surgery, you’ll see a wound with stitches. Swelling, redness, and bruising are common. The wound looks different based on the cancer’s location and size. Dressings protect the wound and help it heal.
Q: How does Mohs surgery compare to other skin cancer removal techniques?
A: Mohs surgery has better results than other methods, like for facial cancers. It removes less healthy tissue and has a higher cure rate. It often leaves smaller scars and better looks than other treatments.
Q: Are there special considerations for Mohs surgery on high-risk areas?
A: Yes, areas like the eyelids, lips, and ears need special care. Surgeons use detailed techniques to keep function and looks good. They aim to remove all cancer while preserving important structures.
Q: How are reconstruction techniques chosen after Mohs surgery?
A: Choosing a reconstruction method depends on the defect size, location, and the patient’s skin. Options include direct closure, flaps, or grafts. The surgeon picks the best method for each case to get the best look and function.
Q: What should patients expect in terms of scarring after Mohs surgery?
A: Scarring is a part of any surgery, but Mohs often leaves minimal scars. Scars look better over time, with big improvements in the first year. Good wound care and sun protection help scars look better.
Q: How do Mohs surgery pictures aid in patient education?
A: Pictures are vital for educating patients. They show the surgery, expected results, and healing. They help patients understand what to expect and show the technique’s effectiveness.


